One of the most challenging of all piano tuning tasks is to locate the cause of strange sounds emanating from your piano. Sometimes these issues are due to common issues, but at other times they are more difficult to diagnose. In this article we will specifically explore the causes of many sounds related to your pedals and how to fix them.
All pianos make mechanical noise. The question is simply how much noise and whether the noise produced is expected behavior or not. Pedal noises can come from a wide variety of sources. The pedal mechanism on grands or uprights is complex and contains many levers and many places for parts to rub together. The best method for a technician is to start from the brass pedal itself, then gradually isolate every component in order until you get to the last stop which is the dampers.
Grand Piano Pedal Noises
- Pedal hinge. The pedals are levers with metal fulcrums. On grands the fulcrum usually goes into wooden holes lined with cloth. The first strategy should be to lubricate with silicone. If this fails, the lyre must be removed from the piano and disassembled. Usually the fix is to re-line the wooden holes with fresh bushing cloth.
- Pedal tail. On grand pianos, the tail of the pedal has a small well similar in diameter to your thumb. This usually has a rubber grommet which supports the pedal rod. The first step is to try to lubricate this with silicone. If that fails, the grommet must be replaced.
- Grand pedal rod guides. On grand pianos, the pedal rods pass through wooden guide holes lined with felt. Sometimes these can squeak, especially if the rods are corroded, or if the felt is worn out. Silicone lubricant is a good first step but sometimes the felt lining needs to be replaced.
- Lyre support rods. Two metal arms emanate from the lyre providing support so it doesn’t rock excessively when the player steps on the pedal. These are often loose which can create a rattling or creaking noise. An easy test is to push the lyre itself back and see if it makes a noise. To remedy tighten screws and fix any screw holes that might be stripped.
- Grand damper arm underside. The damper rod on grands contacts a large metal arm. The underside of this is often lined with felt or leather. Dry graphite powder may be used as lubricant but if the material is worn it should be replaced.
- Damper pedal arm fulcrum. The above mentioned damper arm is a lever which has a fulcrum made of steel. This will often make noise especially if the piano is old and there is corrosion. The pin should be removed, polished with steel wool, then lubricated with silicone and reinserted.
- Damper pedal arm spring well. On grand pianos this wooden arm has a well on top where the spring sits. The well is supposed to be lined with felt or leather but is these have worn they need to be replaced. Graphite lubricant can also help.
- Damper pedal arm Pitman dowel well. The purpose of the damper lever arm on grands is to push on a small wooden dowel the size of your index finger. This dowel in turn pushes the damper hardware inside the piano. The place where this dowel contacts the arm also has a well lined with cloth or leather. Lubricate with graphite, then replace if worn. Also make sure the dowel is seated properly as it often is not.
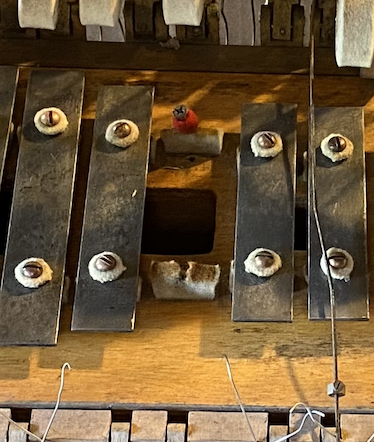
- Pitman dowel top. The top of this wooden dowel makes contact with a metal tray inside the grand piano called the damper lift tray. This can be problematic because the dowel is wood with a metal pin, and the tray is usually made of metal. That means they can rattle together. Therefore the dowel has a felt washer to buffer the point of contact, but also there is usually some type of rubber grommet to receive the metal pin. If this grommet is worn or missing it needs to be replaced.
Upright Piano Pedal Noises
- The pedal hinge. The pedal is a lever which has a metal fulcrum. On uprights, that fulcrum typically mates with metal lined with plastic grommets. These can be lubricated with silicone. Sometimes this becomes detached from the bottom of the piano and must be reattached.
- The pedal spring. On uprights there is a massive tongue shaped spring under the pedal lever. This can make noise where it contacts the pedal, or where it is screwed into the piano. This can be addressed with lubricant, or sometimes there may be some cloth or leather where it contacts the pedal that may need to be replaced. If its coming detached from the piano it needs to be reattached. Rarely the spring itself can break in half and needs to be replaced.
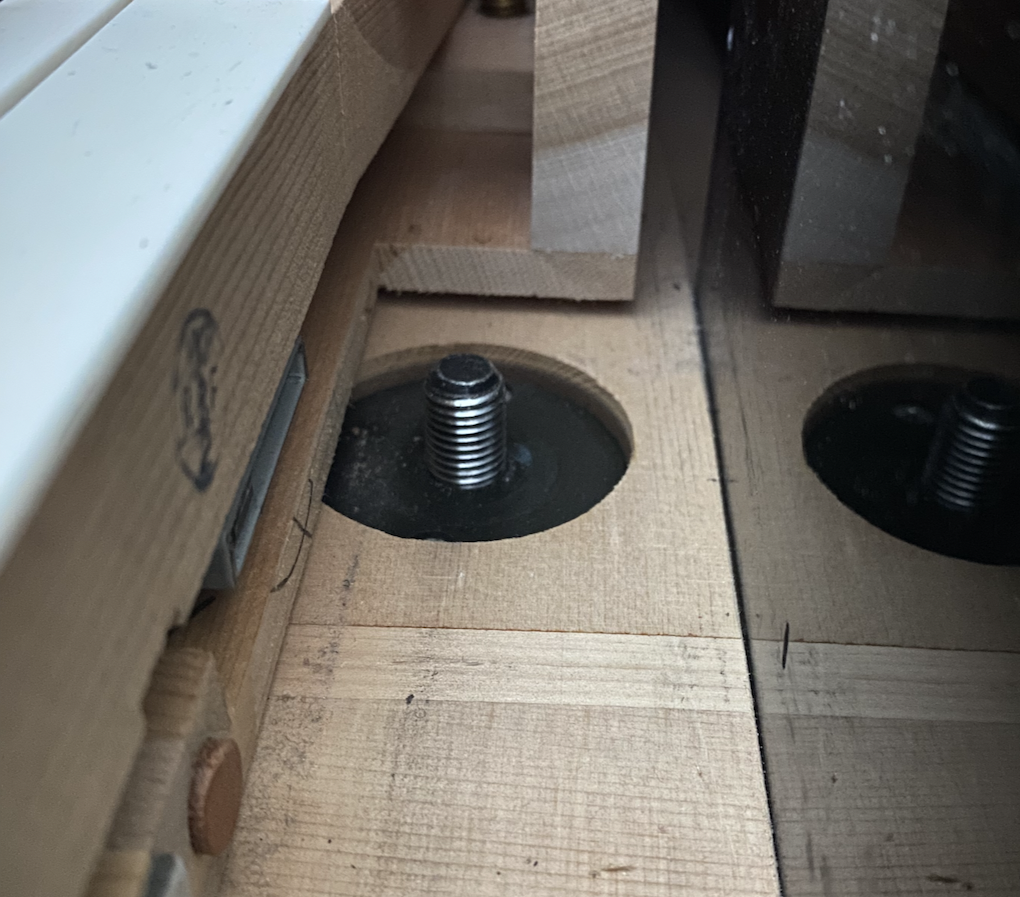
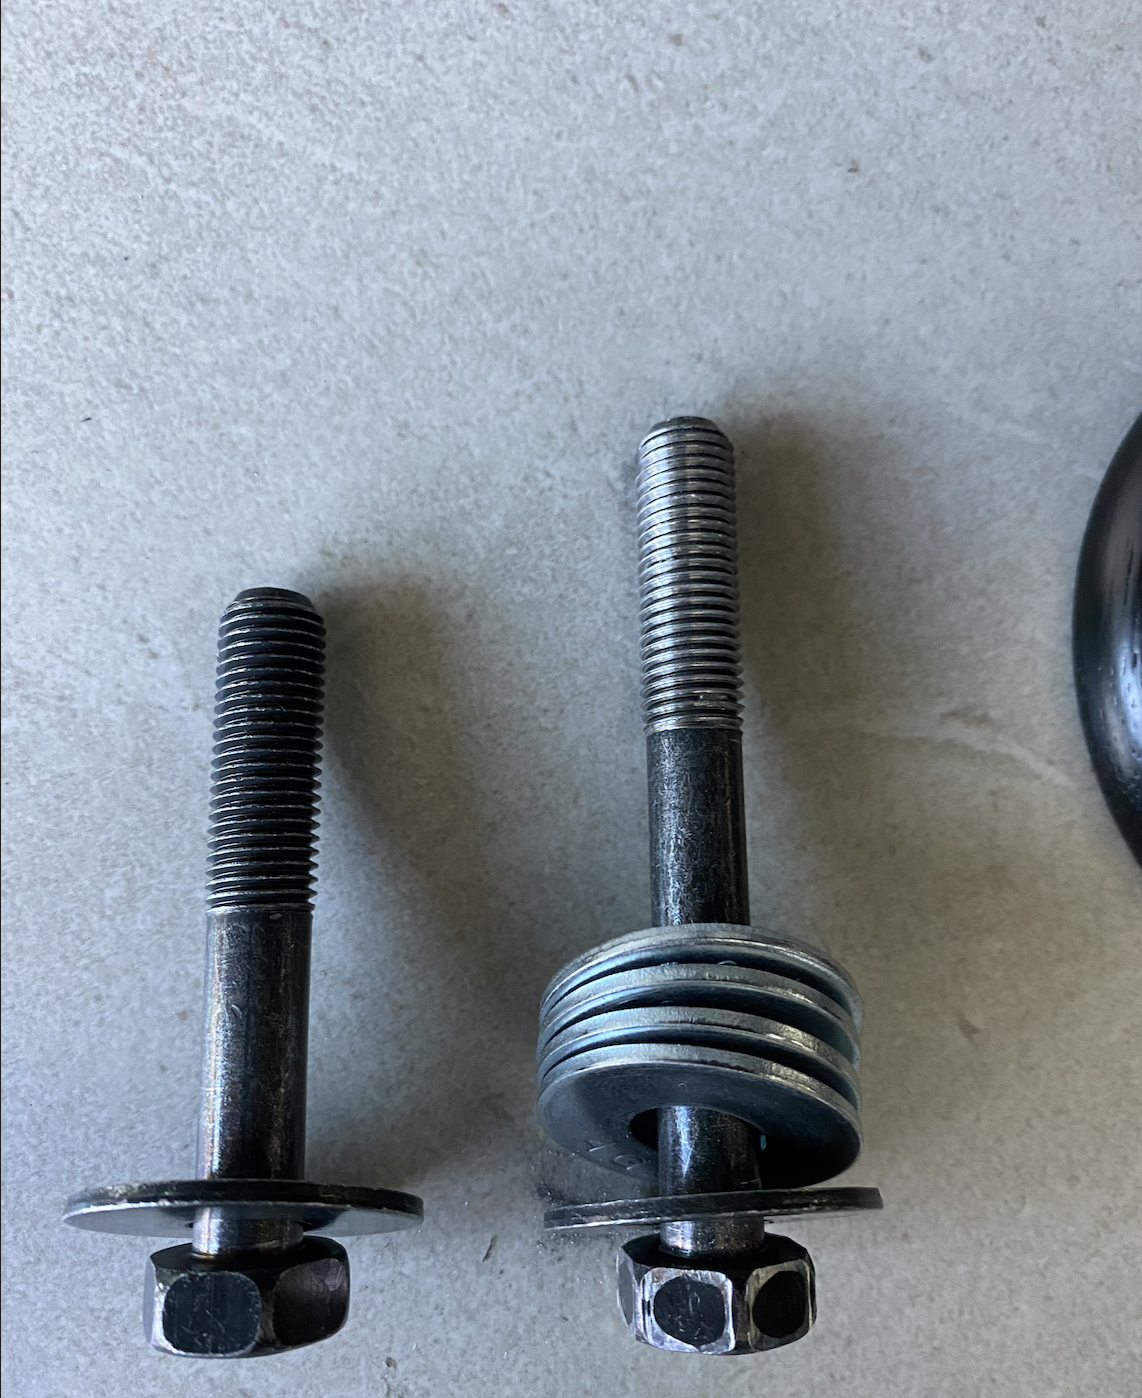
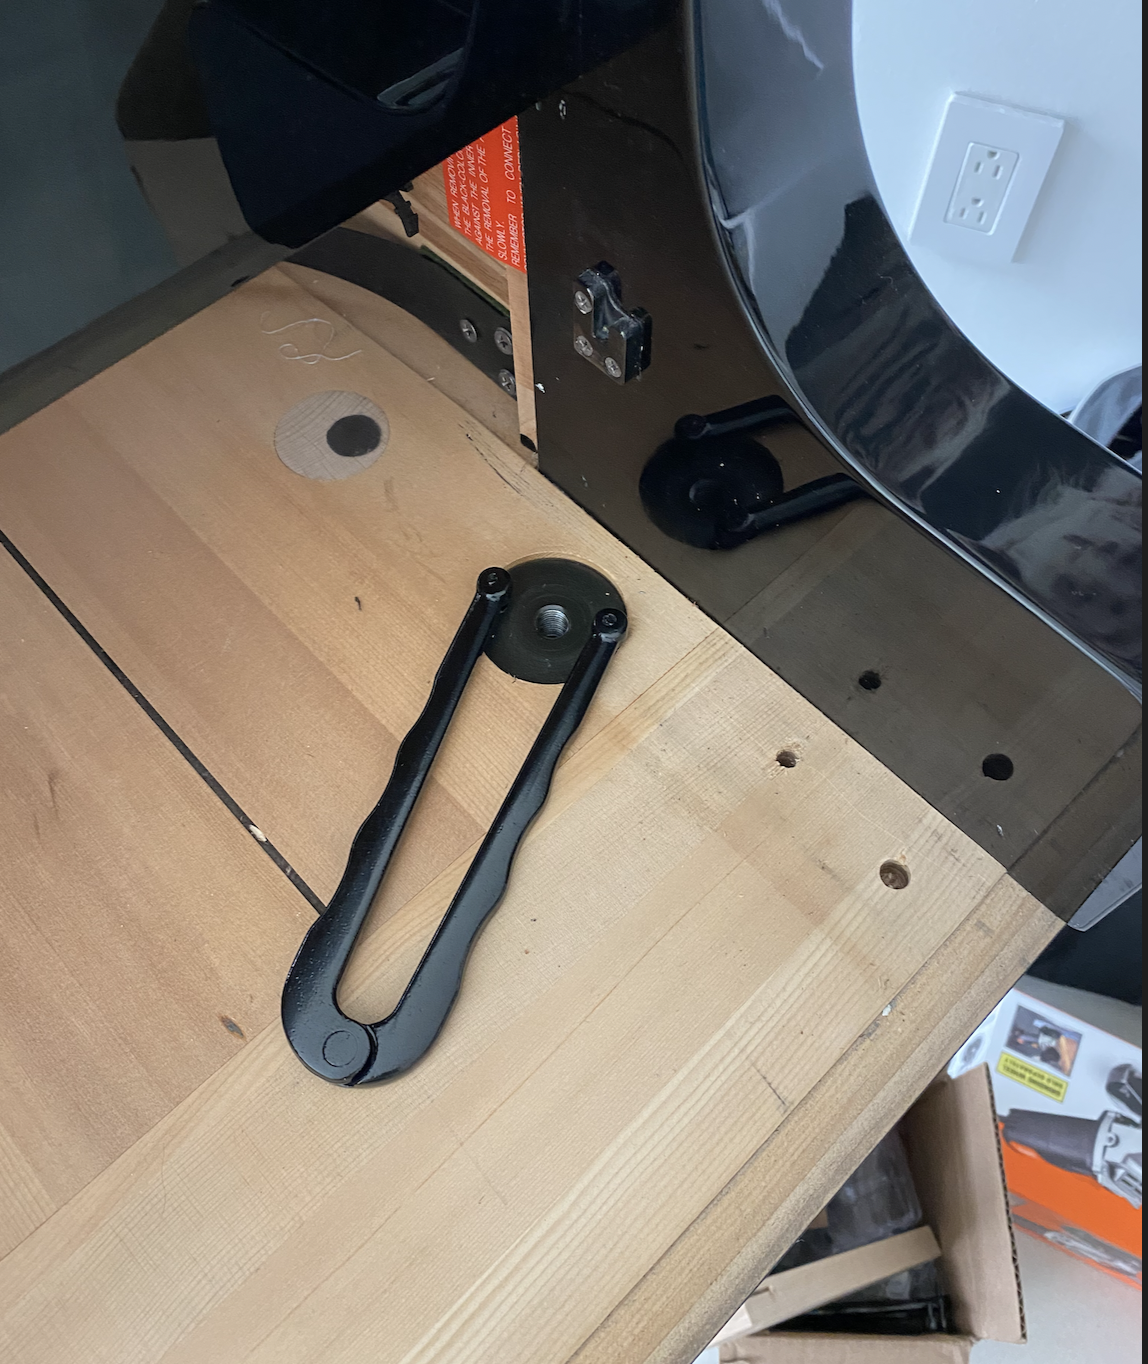
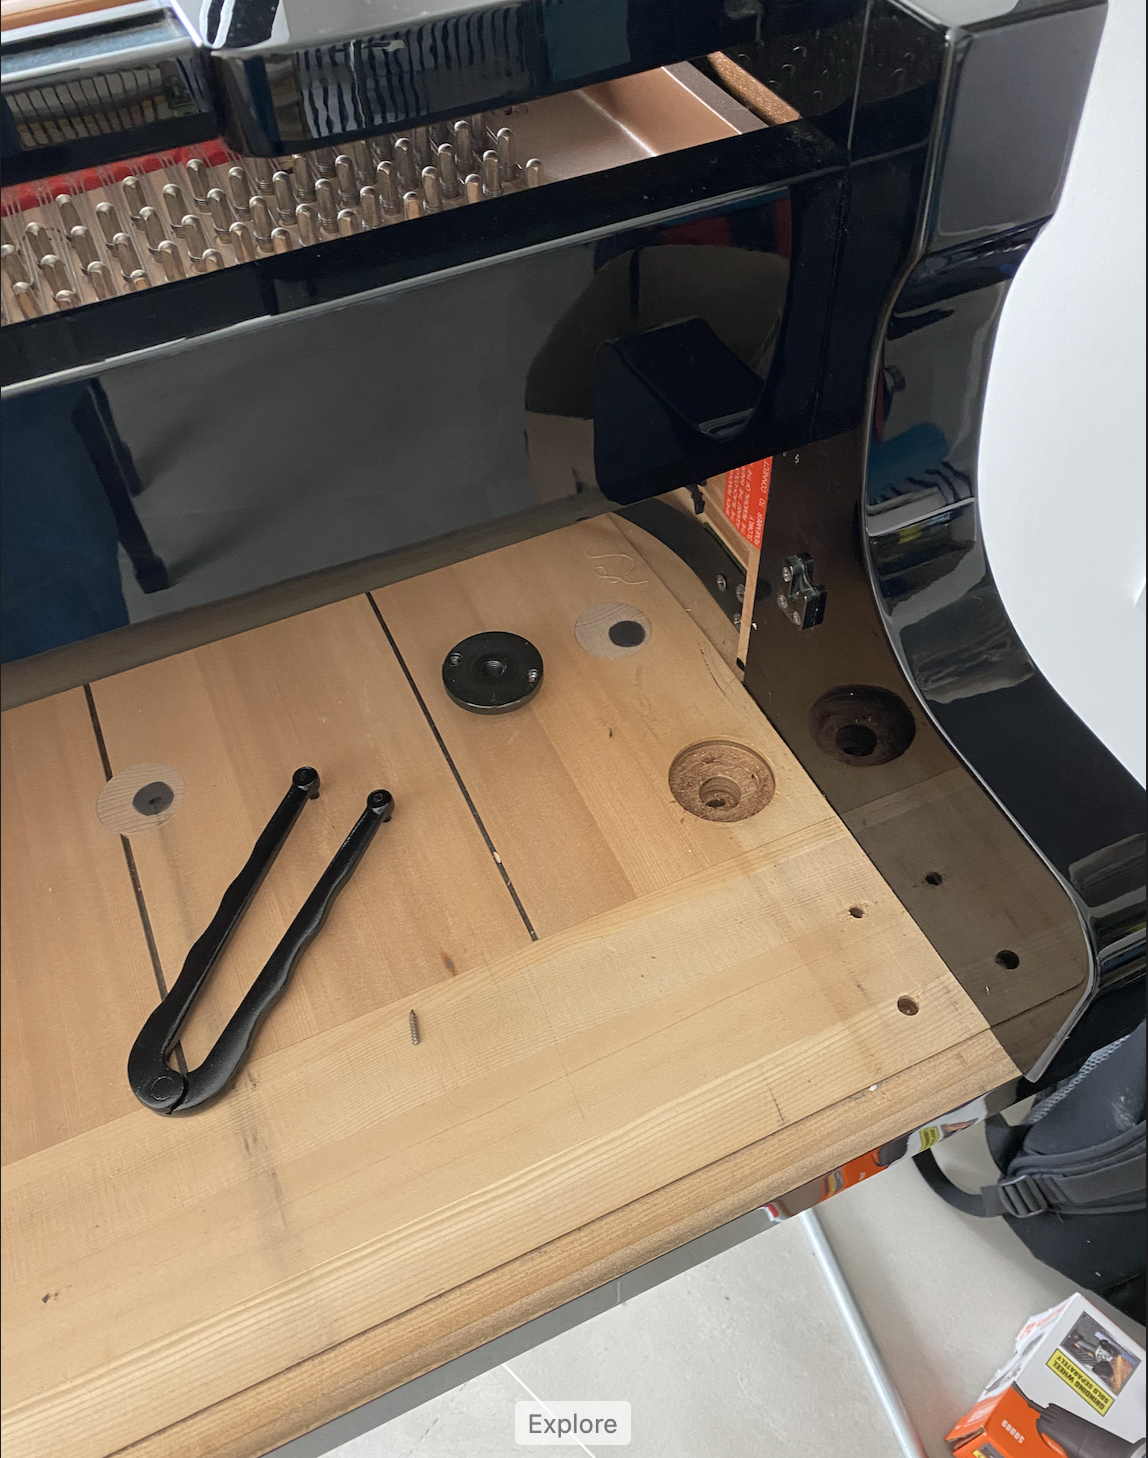
- Upright pedal screw. To transfer its force to the damper arm on upright pianos, there is a giant screw which passes through the middle of the pedal. The screw typically has a washer where it contacts the pedal. The washer can wear out and may need replacement. Additionally they often need lubrication. VJ lube, a mixture of vaseline and silicone is they best choice because of its viscosity.
- The pedal up stop cloth. When the pedal is released its pushed up by the spring. Cloth is there to stop it. The the cloth is worn or missing, it makes a loud knocking sound as it hits the wood above it. Often this cloth must be replaced.
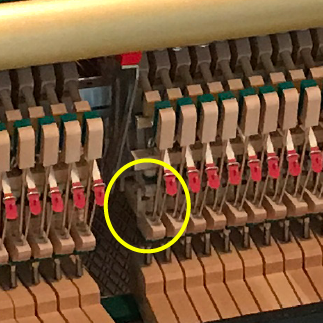
- Upright damper arm lever spring. Uprights also have a damper arm. This one has a metal spring in the middle. This spring can also be a source of noise.
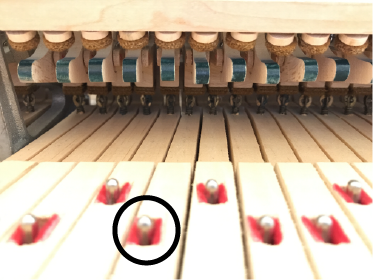
- Upright pedal rod bottom. Attached to the upright damper arm lever is a vertical rod with a metal pin. This functions like a giant Pitman dowel if it were 10x bigger. There should be cloth or leather on the bottom where these meet. If it is worn it should be replaced. Before replacing try silicone lubricant.
- Upright pedal rod top. The pedal rod on uprights makes contact with a small metal arm. This must be lined with a rubber grommet or it will rattle.
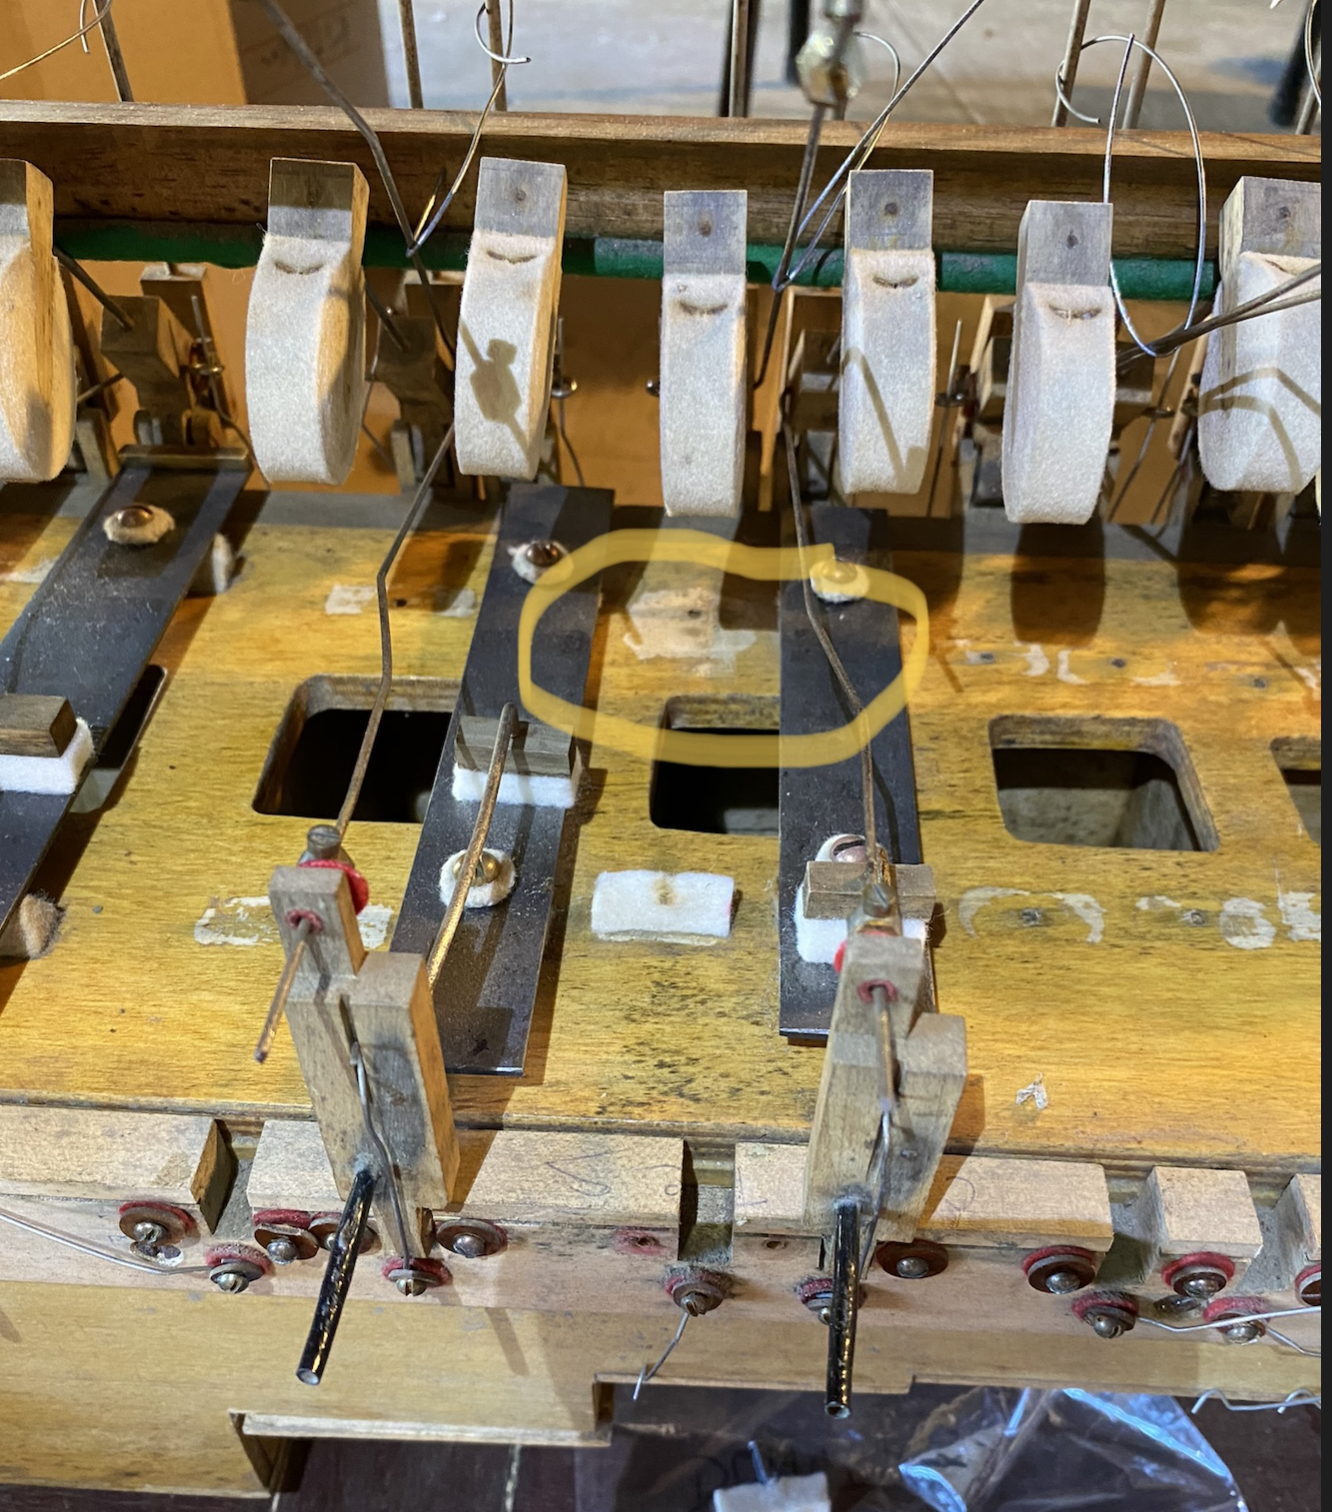
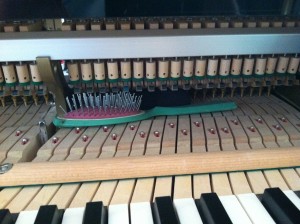
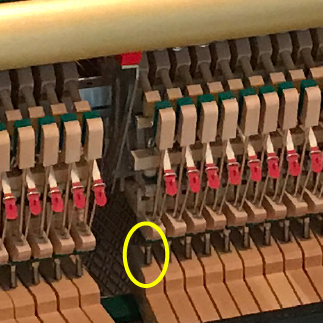
- Upright damper tray arms. This is one of the toughest problems to isolate. The best test is to lift the metal arm connected to the tray and see if the noise occurs. If it does, it means every other lever preceding this one is not the culprit. The action must be removed and angled so as to give the technician to the damper tray arms which are very small and very hard to see as they are obscured by the dampers themselves. There are three or four of them and each should be lubricated with silicone.
Uncommon Causes
Once in my career a client contacted me saying that the pedal on her grand piano was making a loud bang. The cause was that the lyre support rods were misaligned slightly – not more than few degrees – and this was generating side pressure when the pedal moved. When enough pressure built up it suddenly released and BANG a loud sound was produced.
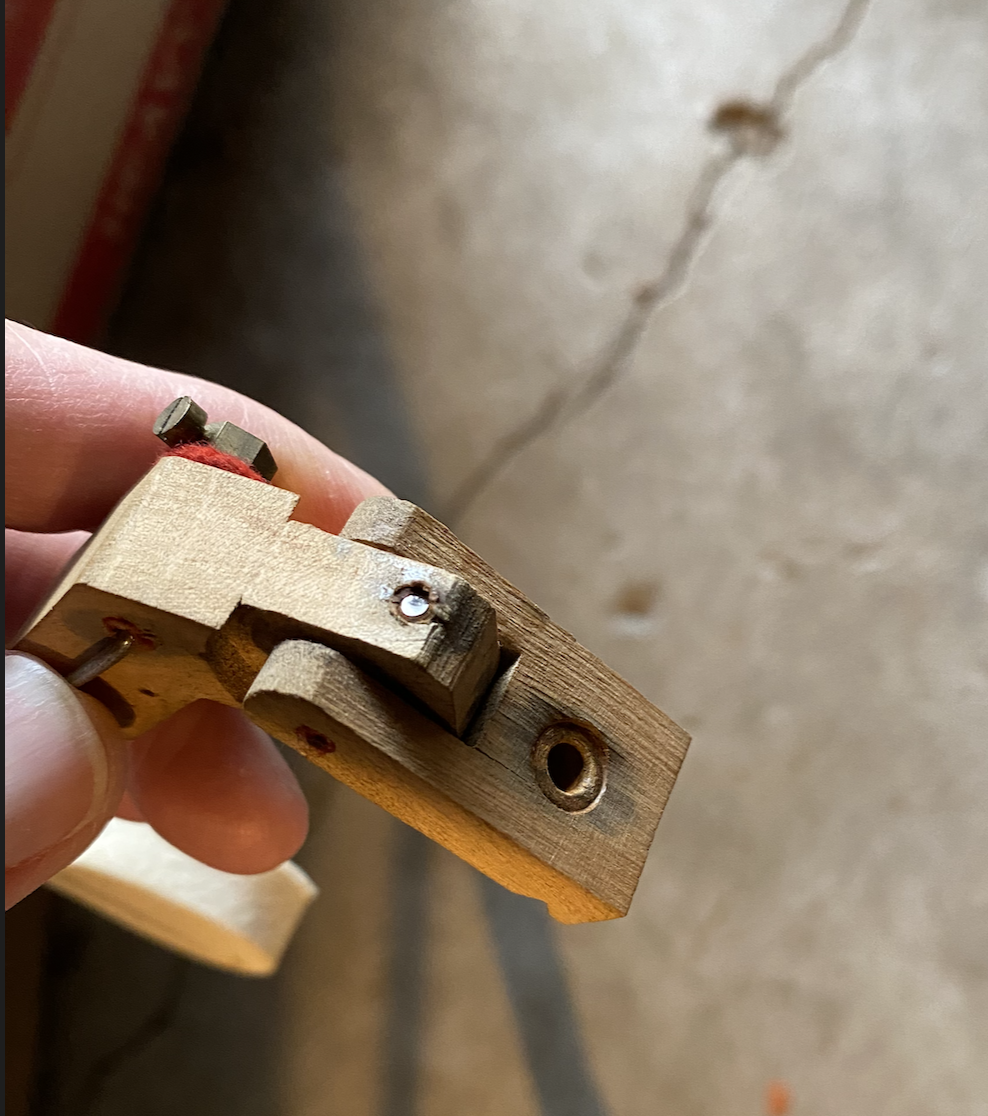
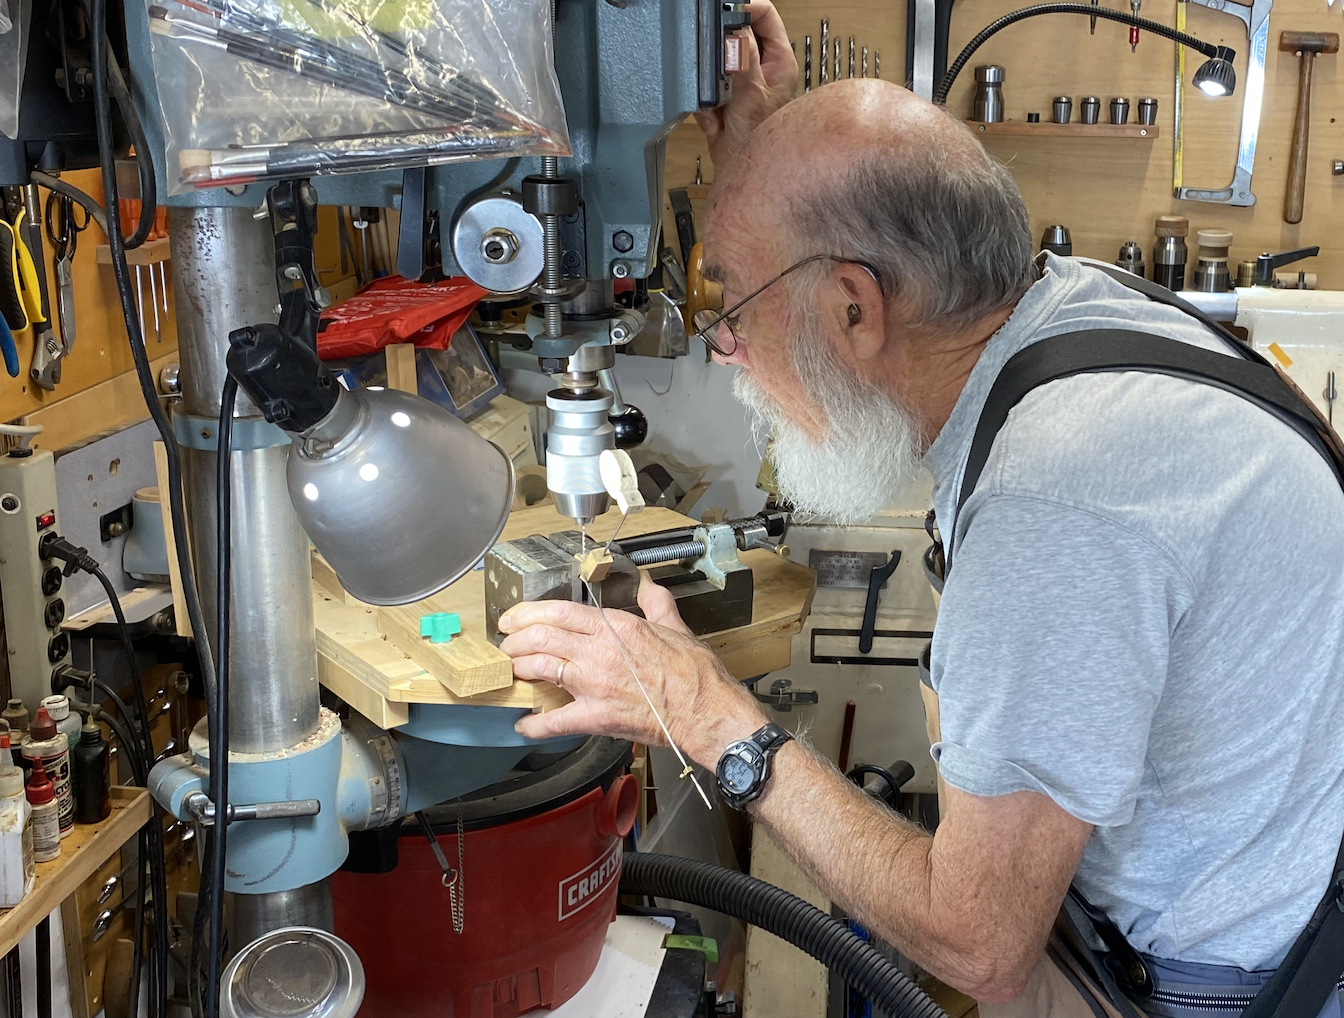
Another similar issue is when the grand damper rods don’t align with the damper arm. This causes the rod to slip off which can again make a loud noise. This can require removing the damper arm and drilling new holes to realign it. Also replacing the leather under the damper arm may be needed.
Surprisingly one effective way to isolate a troublesome sound is by feel. By touching each component one can feel if it is vibrating and if that vibration matches the offending sound.
Summary
Pedal noises require perseverance to troubleshoot and fix. One should start at the source, the players foot, and work step by step to the destination, the dampers. Each component should be isolated from the others if possible and tested to see if it is producing the sound. While it may seem like there is a ghost in the machine, I often remind myself that pianos must obey the laws of Newtonian physics and every sound must have a cause.